Experiment: Chlorine!
1 26 Share TweetWhat’s so great about analog photography? You never know what you will get in the end. Not every film let all of my photos look perfect, some fail, too. Maybe some of you experienced the same. After trying out several film soups and chemicals I finally discovered the easiest and quickest way: chlorine!

Working with chlorine actually is very easy, but you still should be careful and look after your health. All you need is a photo print, chlorine, paper tissues and a straw. You should fill the chlorine in an aerosol can with nebulizer. What’s important: work outside or in a room with open windows! Now you’re ready to start.
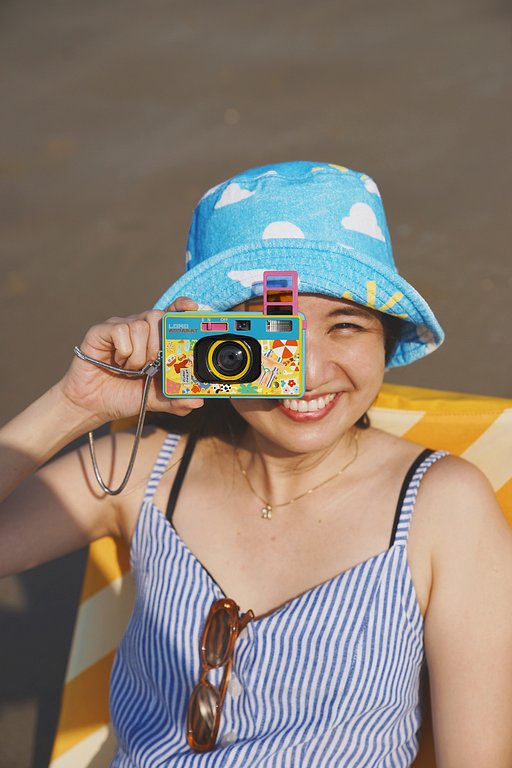
You can spray the whole photo or only parts of it. The more chlorine there is on one place, the more extensive is the effect. But it also depends on the time you let it operate on the print. This means: If you let the chlorine operate only for a short time then this will result in red/blue/violet colors; if you let it operate longer, the lighter (orange, yellow) the results will be (because all color components are decomposed). Here are some examples:

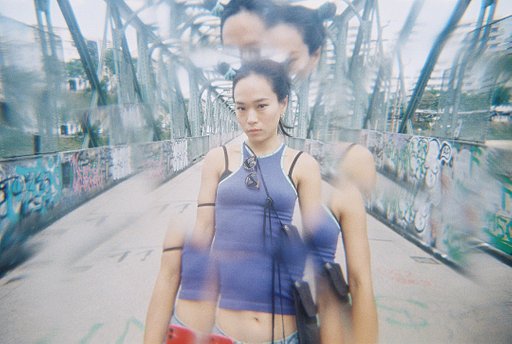
Here I sprayed the chlorine from far away and let it operate for a longer time. This is why there are small white holes.

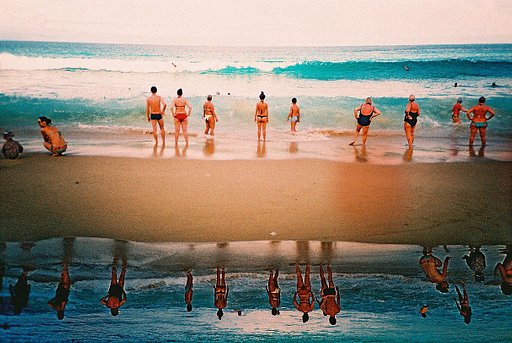
Here I arranged the photo upright and sprayed the chlorine from a closer distance. The redundant chlorine ran down.
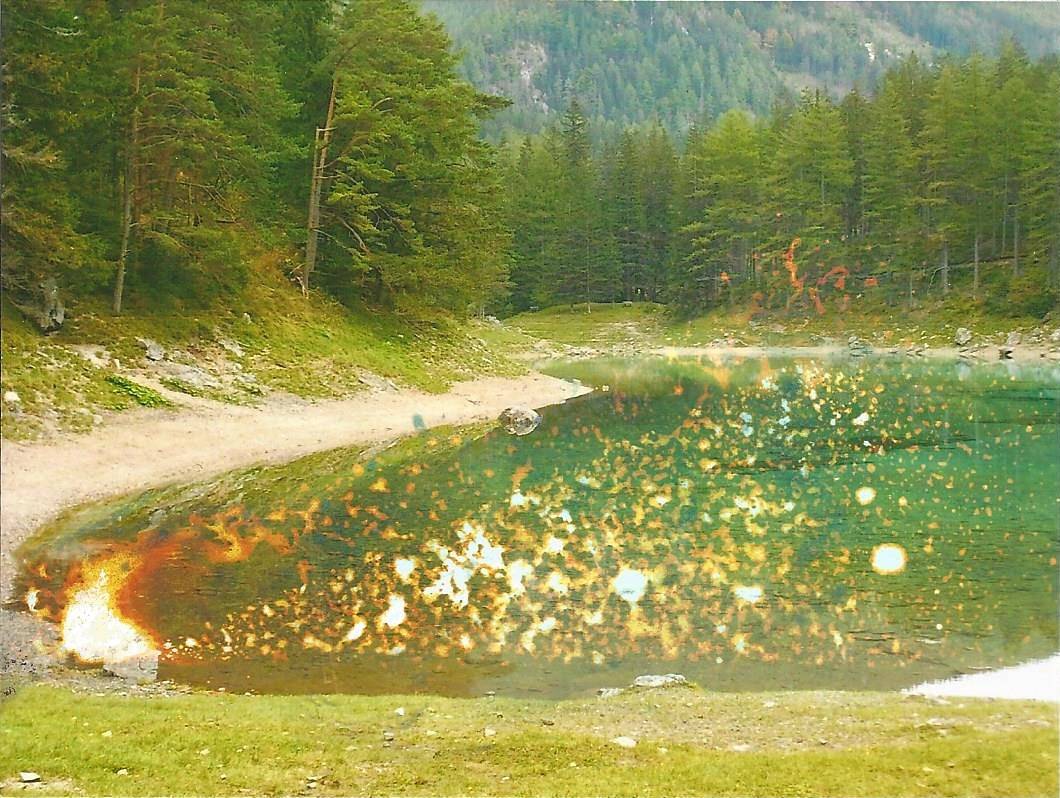
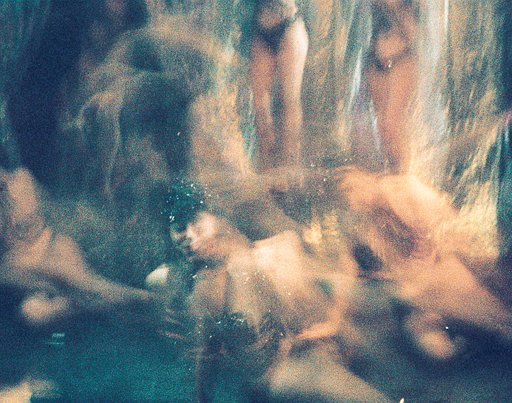
Here I cut a paper tissue so that only the lake was visible. Then I sprayed chlorine from a longer distance and spread the redundant chlorine with blowing (using the straw).
If you’re not fully convinced yet, you can see more of my chlorine photos here.
What do you think? Try it out yourself and share your results with me. I’m looking forward to your comments!
เขียนโดย beway เมื่อ 2015-07-15 ในหมวด #คำแนะนำ #experiment #tipster #chlorine
translated by petit_loir


1 ความคิดเห็น