Tipster: Achieving Better Exposure With Your Lomo'Instant
12 31 Share TweetYou are sick of poorly exposed Lomo'Instant pictures? I got you!
All you need is a simple light meter like this one.

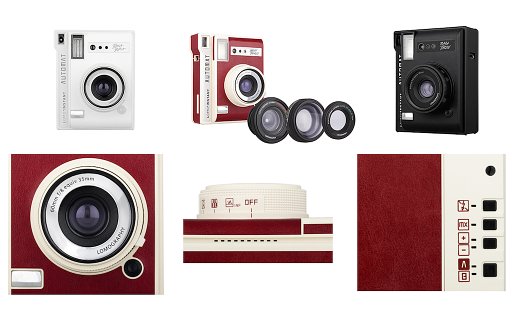
The Lomo'Instant camera exposes your picture for 1/125 second and is able to set the aperture to five different sizes:
-2 = f 32
-1 = f 22
A = f 16
+1 = f 11
+2 = f 8
Because I don't want to learn times and aperture settings by heart, I made myself a little cheat sheet and taped it to the bottom side of my Lomo'Instant.

According to my Fuji Instax Film, I set the ISO to 800 and measure the light as per usual. As you can see in this example, I would have to set the aperture to 16. Now I check my cheat sheet, which tells me that I don't have to change anything, as the camera is already set to A-mode.

In case the result of the light meter is not quite clear, I usually go with my intuition. If the sun is out, I would rather underexpose a little, and when shooting in the shades or on a cloudy day, I would rather choose more light and overexpose my subject. Usually, it works out for me and I get nice results. Of course, every now and then I find myself in special lighting situations, like having an intense backlight, which makes it more difficult. All in all, however, my overall results have definitely improved, ever since I started using the light meter and pay more attention to the right settings - which all boils down to simply having more fun taking pictures and being happier with the photos of my Lomo'Instant.
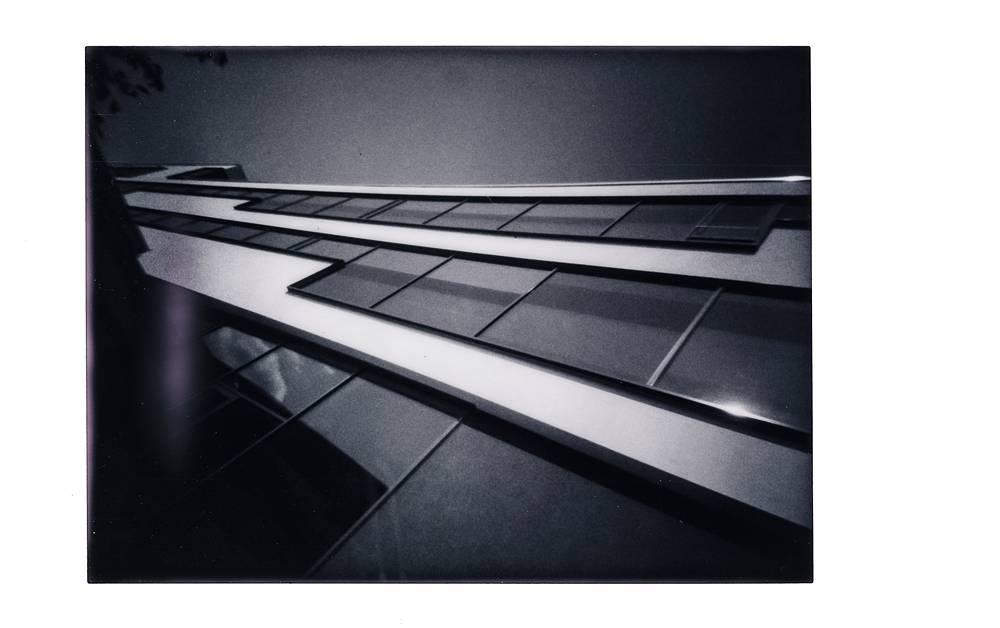
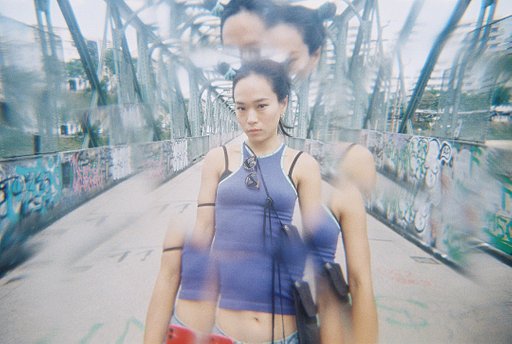
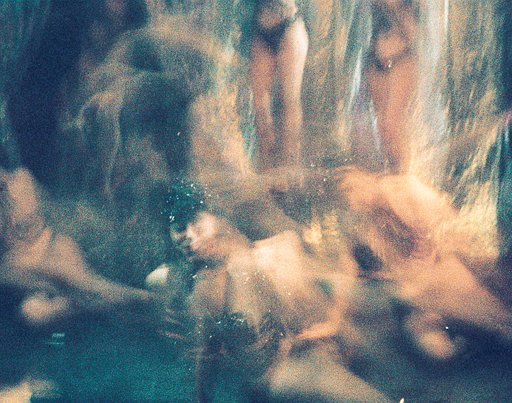
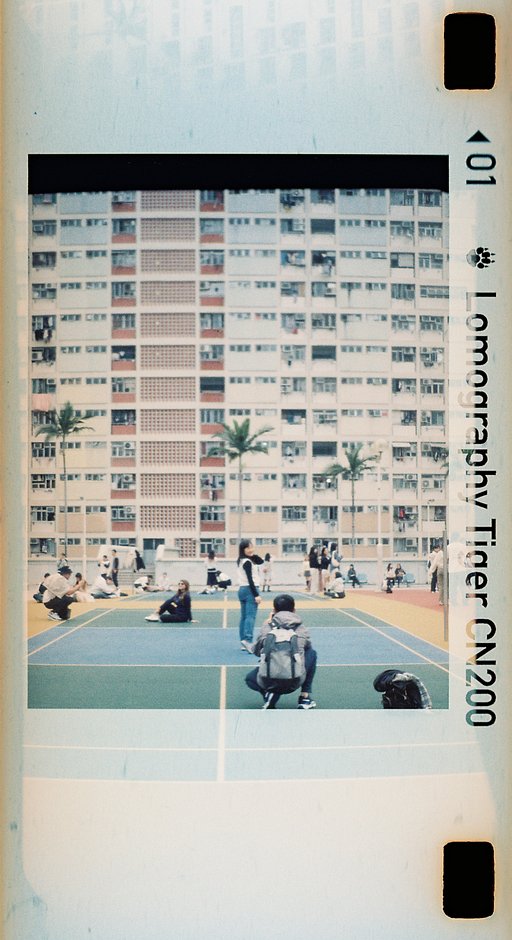
Here are some examples. For some of those, when the sun was really strong, I used additional color lenses, since the smallest aperture of 32 would not have been enough.


Have fun with your Lomo'Instant
Yours, Pearlgirl
Check out more photos from @pearlgirl77, and visit her LomoHome
เขียนโดย pearlgirl77 เมื่อ 2017-11-19 ในหมวด #gear #คำแนะนำ


12 ความคิดเห็น